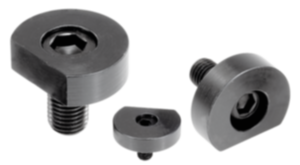
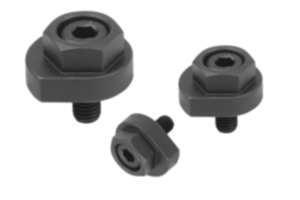
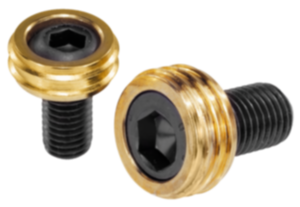
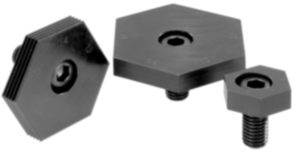
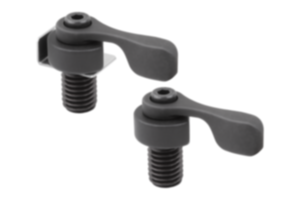
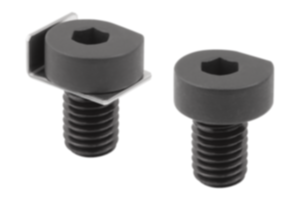
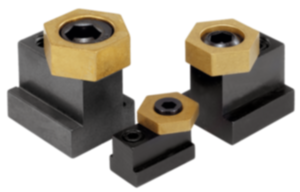
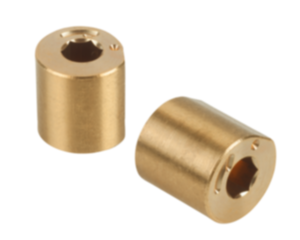
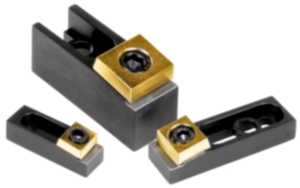
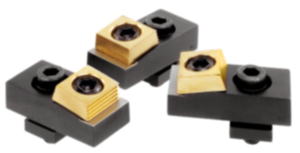
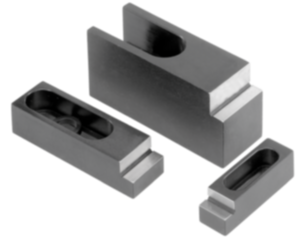
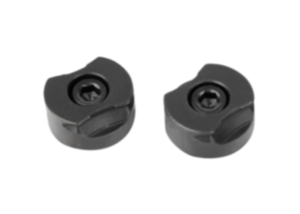
Excentrique de bridage Embout six pans femelle laiton 04435-04
- Very low design
- Ideal for a range of clamping tasks
- Gentle material clamping
- Compact
Unité de vente
8,11 €
hors TVA
Ajouté à votre panier
Désignation
Excentrique de bridage
Modèle 1
Embout six pans femelle
Matériau
du corps de base
laiton
Matériau
des composants
acier de traitement
D=Filetage
M4
L=longueur de filetage
10
A
3,8
Accessoires NLM
04521-10-0410
Couple
de serrage
max. Nm
2
Force de serrage
kN
0,91
H
2,8
S1
(course de serrage)
0,76
SW
8
SW1
3
~ CONFLICT MINERALS 3TG status
no intentional 3TG
~ CP65 substance 1 cancer & reproductive toxicity
lead and lead compounds
~ CP65 substance 2 cancer
nickel (metallic)
~ PFAS free?
yes
~ REACH SVHC-free?
no
~ REACh SVHC 1 name > threshold
lead
~ RoHS conformity
yes, with exemption
~ RoHS exemption/s
III/6c
~ TSCA 6(H) conformity
yes
Description
Material
Cam screw carbon steel.
Hex washer brass.
Hex washer brass.
Version
Cam screw tempered to 10.9 and black oxidised.
Note
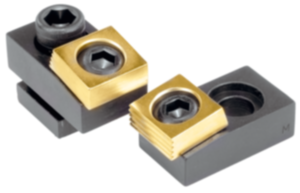
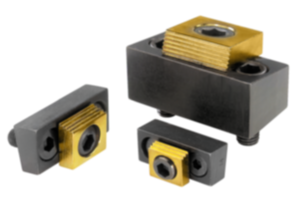
The minimal height of this fixture clamp enables numerous clamping problems in fixture and equipment construction to be solved. The brass hex washer offers a gentle yet extremely stable and safe clamping of workpieces. By using several fixture clamps entire pallets can be set-up.
Clockwise rotation is recommended for clamping. The hex socket on the screw should be on the right after tightening. (Screw in the cam screw as far as it will go, then turn it back one turn).
”A” = distance from workpiece to screw centre (cam screw).
Clockwise rotation is recommended for clamping. The hex socket on the screw should be on the right after tightening. (Screw in the cam screw as far as it will go, then turn it back one turn).
”A” = distance from workpiece to screw centre (cam screw).
Assembly
Clamping method:
1. Screw the cam screw in as far as it will go.
2. Screw the cam screw back one turn.
3. Position the workpiece.
4. Turn the cam screw clockwise to clamp the workpiece. (The hex socket on the cam screw should now be on the right).
1. Screw the cam screw in as far as it will go.
2. Screw the cam screw back one turn.
3. Position the workpiece.
4. Turn the cam screw clockwise to clamp the workpiece. (The hex socket on the cam screw should now be on the right).
On request
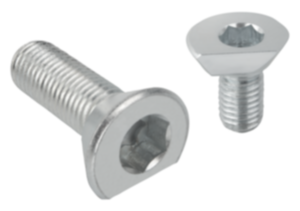
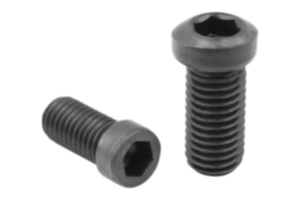
Replacement screw for cam screws 04521-10.
Remarque importante concernant le téléchargement des modèles CAO
Pour pouvoir télécharger nos modèles CAO, vous devez d’abord connecter. Si vous n’avez pas encore créé de compte, inscrivez-vous en cliquant sur « Mon compte » (à droite de l’écran) et suivez les instructions.
D'autres clients ont également acheté